12 Stunning Lace Nail Designs: Ultimate Chic Doily Tutorial
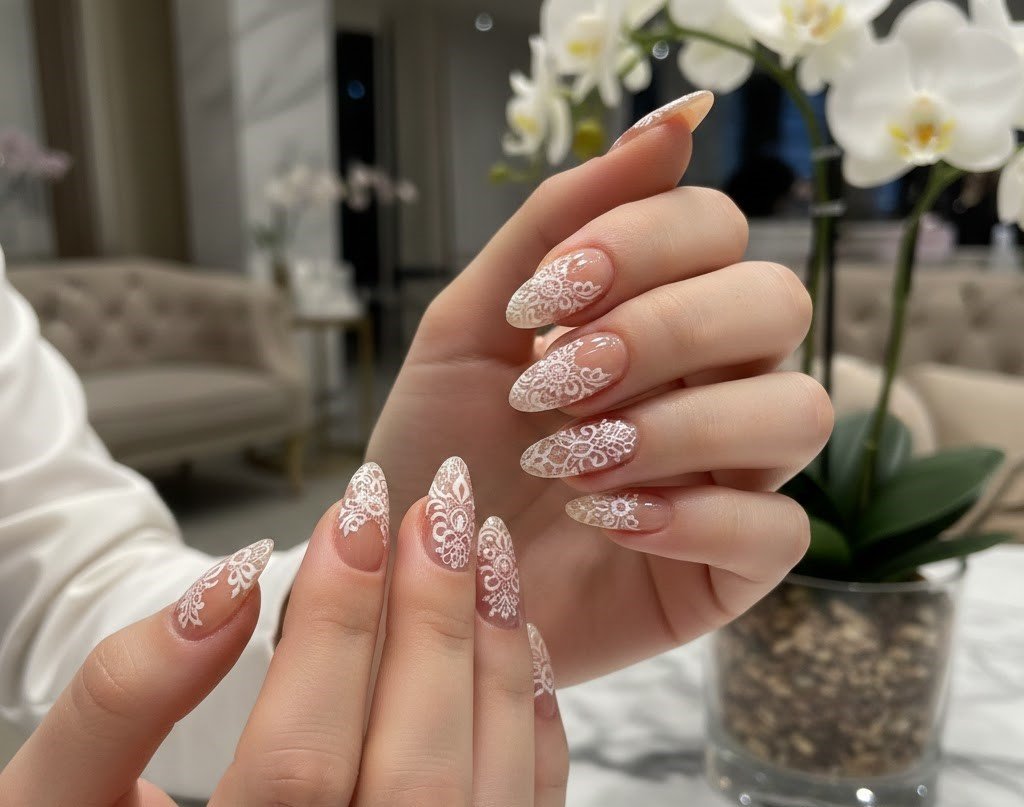
Picture this: You’re getting ready for a special occasion, and you glance down at your nails. Instead of plain polish, you see delicate lace patterns that look like they came straight from a high-end salon. That’s the magic of lace nail designs, and trust me—they’re easier to create than you think.
I remember the first time I attempted lace nail art. My hands were shaking, my brush seemed too thick, and I nearly gave up. But once I learned the right techniques and invested in proper tools, everything changed. Now, I can create stunning doily nail art in under an hour, and you can too.
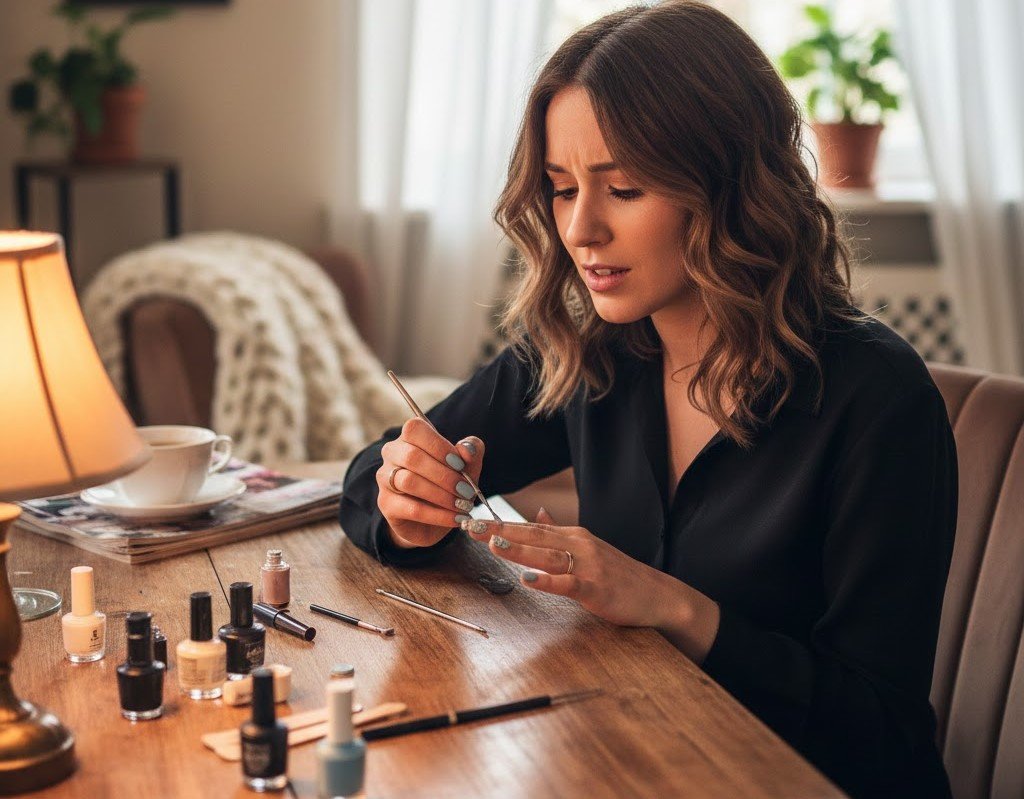
Whether you’re a bride-to-be, preparing for date night, or simply want to treat yourself to something beautiful, lace nail designs bring timeless elegance to your fingertips. Let’s dive into everything you need to know.
Why Lace Nail Designs Never Go Out of Style
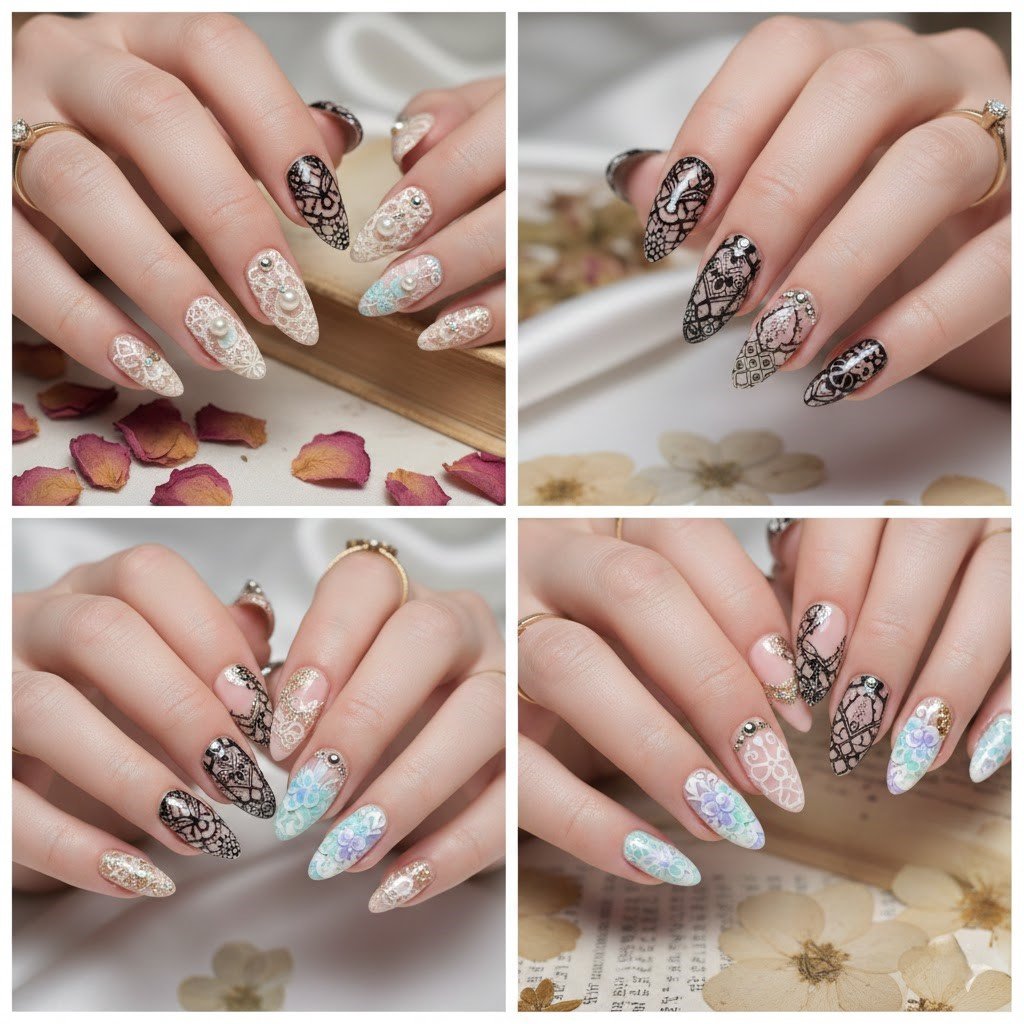
Lace nail art captures something truly special. It’s feminine without being fussy. Elegant without being stuffy. And versatile enough for both casual coffee dates and black-tie weddings.
The beauty of these designs lies in their adaptability. You can go classic with white-on-nude combinations. Or experiment with bold black lace over pastel bases. The possibilities are endless.
What makes lace manicures particularly appealing is their vintage charm. They remind us of heirloom doilies, grandmother’s wedding dress, or delicate Victorian details. Yet they feel completely modern when paired with contemporary colors and finishes.
Essential Tools for Perfect Lace Nail Art
Before we jump into techniques, let’s talk tools. Having the right supplies makes all the difference between frustration and success.
Your Basic Toolkit
Start with quality base and top coats. These protect your natural nails and seal your artwork. Choose polishes in complementary shades—think nude, white, soft pink, or even dramatic black.
A fine detail brush is non-negotiable for lace nail designs. The Artdone Metallic Nail Art Pens offers various pens sizes perfect for creating intricate lace patterns, from delicate swirls to tiny dots. These brushes hold their shape beautifully and make detailed work so much easier.
You’ll also want dotting tools in multiple sizes. These create the perfect circles and dots that are signature elements of doily nail art.
Stamping Supplies
If freehand painting intimidates you, stamping plates are your best friend. They transfer intricate lace patterns instantly onto your nails. Look for plates specifically designed with vintage lace and doily motifs.
The Born Pretty Nail Stamping Kit includes everything beginners need—stamper, scraper, and multiple lace-patterned plates that create professional results in minutes . I use mine at least twice a week.
12 Gorgeous Lace Nail Designs to Try Today
1. Classic Bridal White Lace
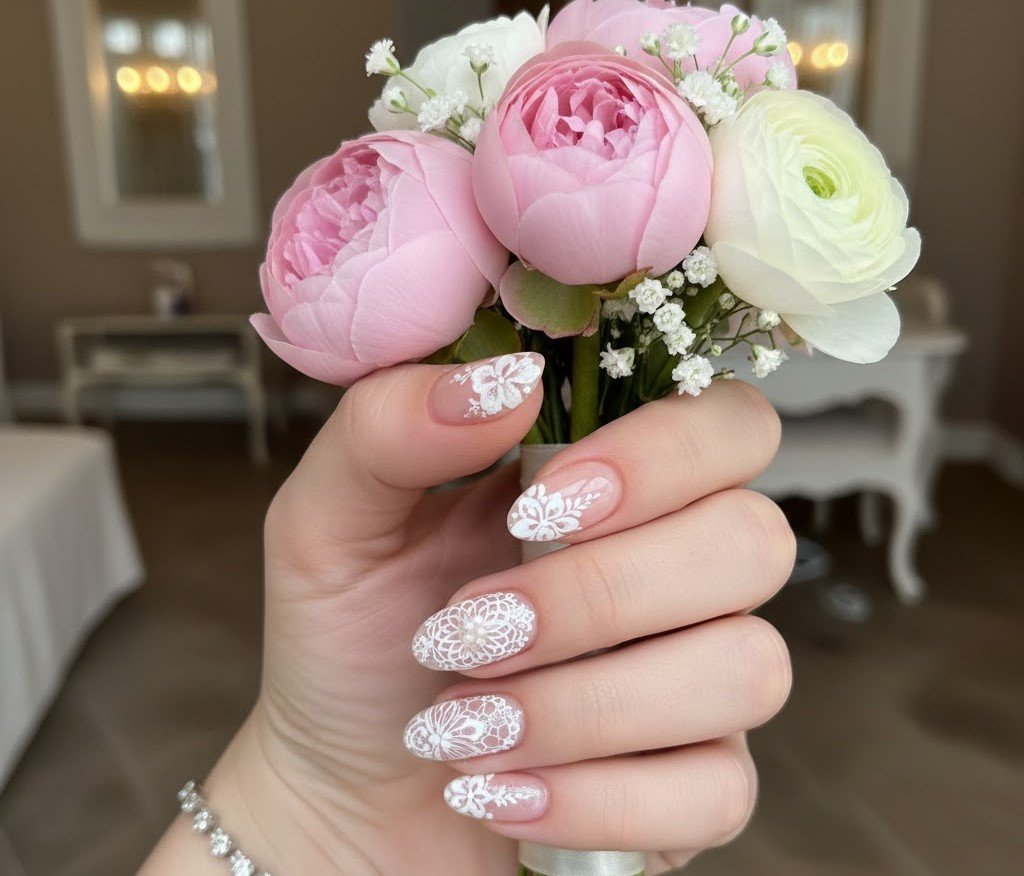
This timeless look features delicate white lace over a nude or blush base. It’s perfect for weddings, bridal showers, or any time you want understated elegance. Focus the lace pattern on your ring finger as an accent nail.
2. Dramatic Black Lace Statement
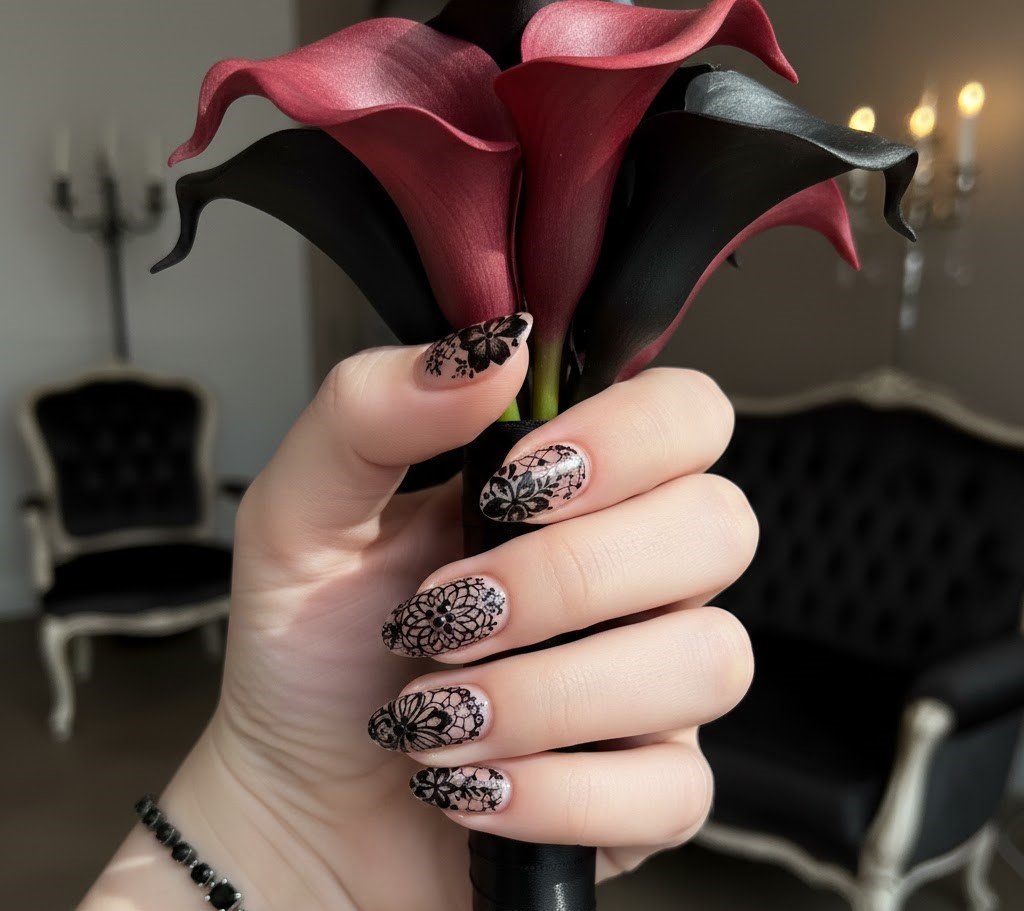
For evening events, reverse the classic by painting black lace over white or pale pink. This high-contrast approach feels modern and edgy while maintaining that feminine touch. Keep other nails solid for balance.
3. Metallic Gold Lace Overlay
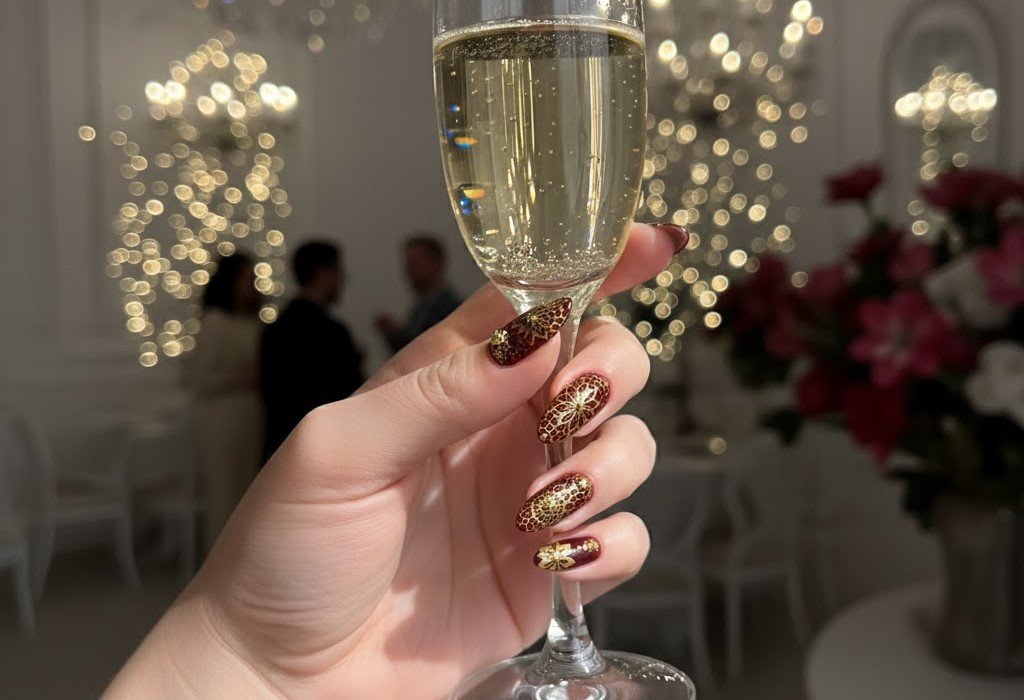
Who says lace must be white? Gold lace over deep burgundy or navy creates luxurious, festive nails perfect for holidays. The metallic sheen catches light beautifully and feels special without being overdone.
4. Full Coverage Doily Pattern
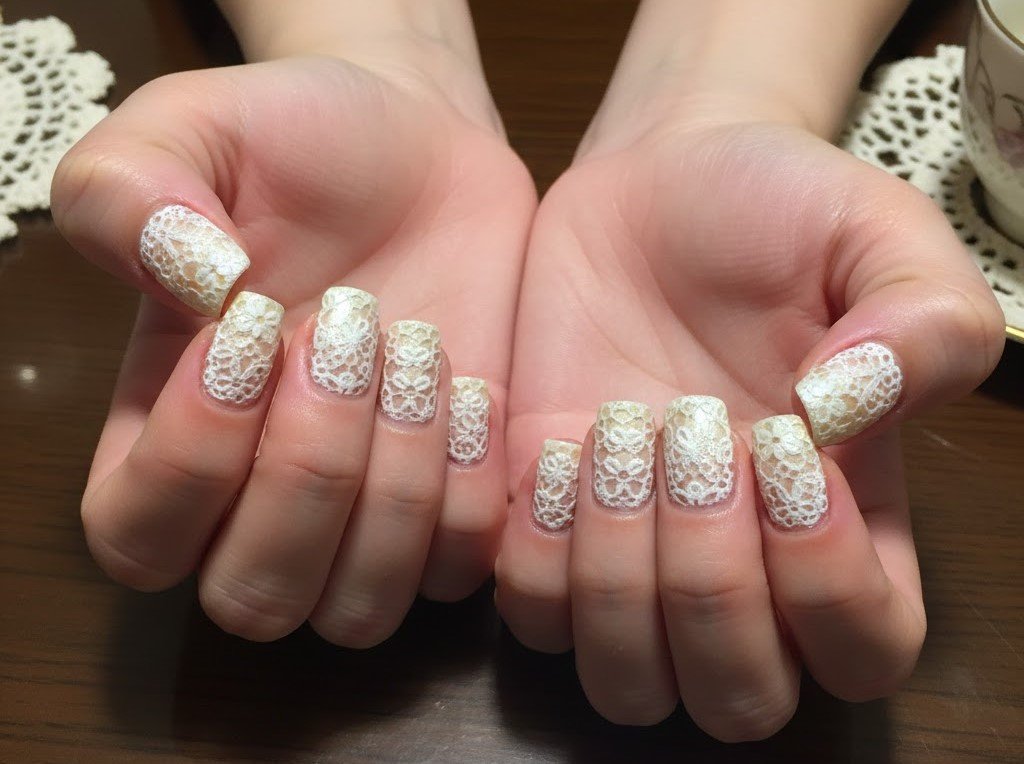
Transform every nail into a miniature doily using stamping plates. This technique delivers consistently detailed results across all fingers. Choose intricate circular patterns that radiate from your cuticle.
5. French Tips with Lace Border
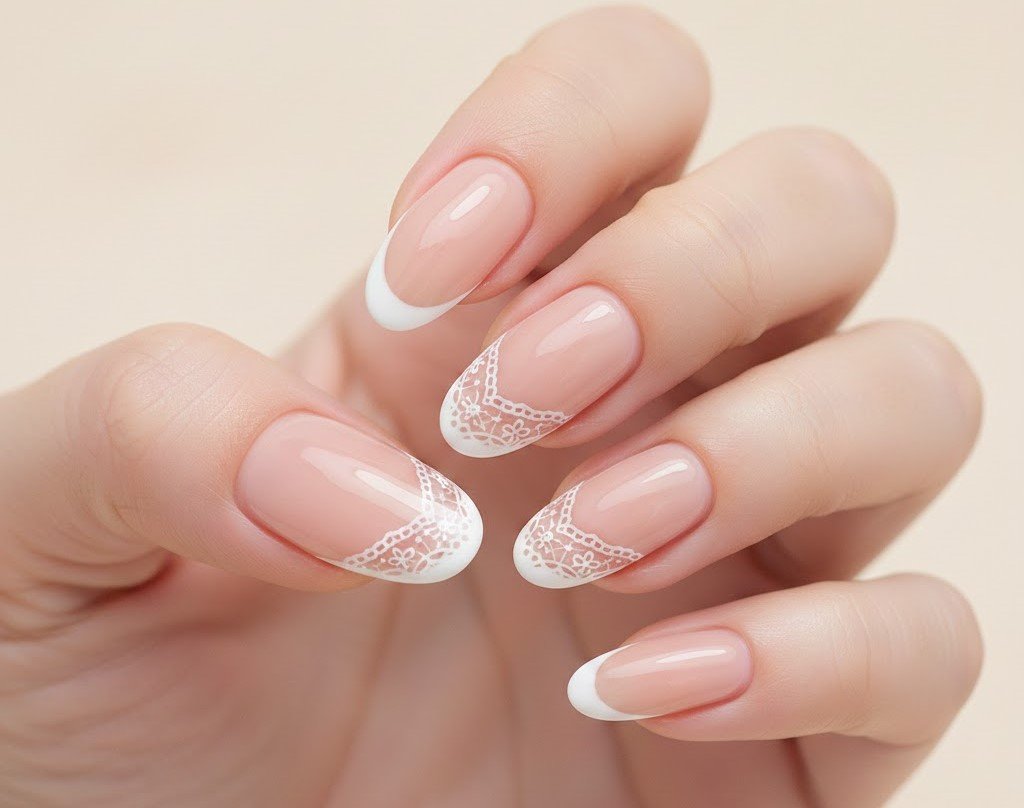
Elevate the classic French manicure by adding lace scallops along the smile line. Paint traditional white tips, then embellish with delicate lace edges. This elegant nail art works for any professional or formal setting.
Step-by-Step Tutorial: Freehand Lace Painting
Let me walk you through the freehand technique. It’s more forgiving than you think.
Prepare Your Canvas
Start with clean, shaped nails. Apply base coat and let it dry completely. This step protects your natural nails and prevents staining. Then apply two thin coats of your base color. Nude, blush pink, and soft white work beautifully for lace nail designs.
Create the Foundation Pattern
Using your detail brush and white polish, paint small connected loops along your nail edges. These scallops form the characteristic lace border. Work slowly. It’s okay if they’re not perfect—real lace has organic variations too.
Add Interior Details
Fill the center with delicate swirls, tiny flowers, and dots. Traditional doily nail art features layers of overlapping details. Build depth by adding elements gradually, allowing each to dry before adding the next.
A quick tip I learned the hard way: Keep acetone and a cleanup brush nearby. One tiny swipe can fix mistakes instantly without redoing your entire nail.
Seal Your Masterpiece
Once your design is completely dry, apply a glossy top coat. This seals your work, adds shine, and helps your lace manicure last longer. Reapply top coat every two to three days for extended wear.
The Stamping Shortcut for Busy Days
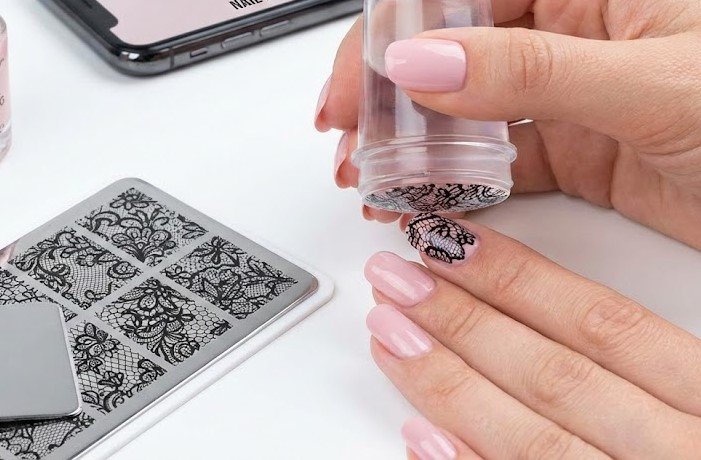
Some mornings, you just don’t have time for freehand artistry. That’s where stamping saves the day.
Apply your base color and let it dry. Then place stamping polish on your chosen lace pattern. Scrape off excess, pick up the design with your stamper, and roll it smoothly onto your nail. It takes practice, but once you get the rhythm, you’ll create salon-quality feminine nail designs in minutes.
Last month, I was running late for a dinner party. Stamping let me add elegant lace accents in under ten minutes. My friends couldn’t believe I’d done them myself.
Real Lace Application: The Ultimate Technique
For the most authentic look, apply actual lace fabric to your nails. Yes, really.
Cut tiny pieces of thin lace slightly larger than your nails. Apply nail glue or thick clear polish as adhesive. Press the lace onto your nail, smoothing out bubbles with a cuticle pusher. Seal with multiple coats of top coat, allowing each layer to dry. Finally, trim excess lace flush with your nail edge.
The FAMILIFE Professional Nail Care Tool Kit includes precision scissors and cuticle pushers perfect for trimming and applying delicate lace pieces with control . These tools make the process so much smoother.
Color Combinations That Work Every Time
Choosing the right colors elevates your lace nail art from nice to stunning.
For Classic Elegance: White lace on nude or soft pink never fails. It’s sophisticated, versatile, and appropriate for any occasion.
For Romantic Vibes: Try pastel lace patterns on white bases. Think lavender, mint, or baby blue lace for spring and summer events.
For Bold Statements: Black lace on white creates drama. Or flip it—white lace on black feels fashion-forward and unexpected.
For Metallic Glamour: Rose gold, champagne, or silver lace over jewel tones works beautifully for evening events and celebrations.
Making Your Lace Manicure Last
You’ve invested time creating beautiful nails. Let’s make them last.
Apply cuticle oil daily. This prevents chipping at the edges and keeps your nail beds healthy. The Cuccio Naturale Revitalizing Cuticle Oil absorbs quickly and dramatically extends manicure life .
Wear gloves when washing dishes or cleaning. Water exposure is the enemy of nail art longevity. Reapply top coat every two to three days to maintain shine and seal any micro-cracks.
Avoid excessive water in the first 24 hours after creating your lace nail designs. This allows everything to cure completely.
Troubleshooting Common Challenges
Problem: Your lines look thick and clumsy.
Solution: Thin your polish with a drop of polish thinner. Use a brush with fewer, finer bristles. And remember—practice improves precision.
Problem: Your pattern looks muddy.
Solution: You’re likely layering wet polish on wet polish. Patience is crucial. Let each element dry completely before adding adjacent details.
Problem: Stamping won’t transfer.
Solution: Ensure your base polish is bone dry. Work quickly with stamping polish before it dries on the plate. And press firmly but don’t grind the stamper.
When to Choose Lace Nail Designs
These elegant designs suit countless occasions. Wear them for weddings, where the romantic details complement bridal aesthetics perfectly. They’re ideal for formal events like galas, proms, and cocktail parties.
But don’t save lace nail art only for special occasions. Subtle lace accents add refinement to professional wardrobes. And there’s something lovely about treating yourself to beautiful nails just because it’s Tuesday.
I’ve learned that wearing nail art I love actually boosts my confidence. Every time I see my nails, I remember that I’m creative and capable. That’s worth the effort.
Your Beautiful Nail Journey Starts Now
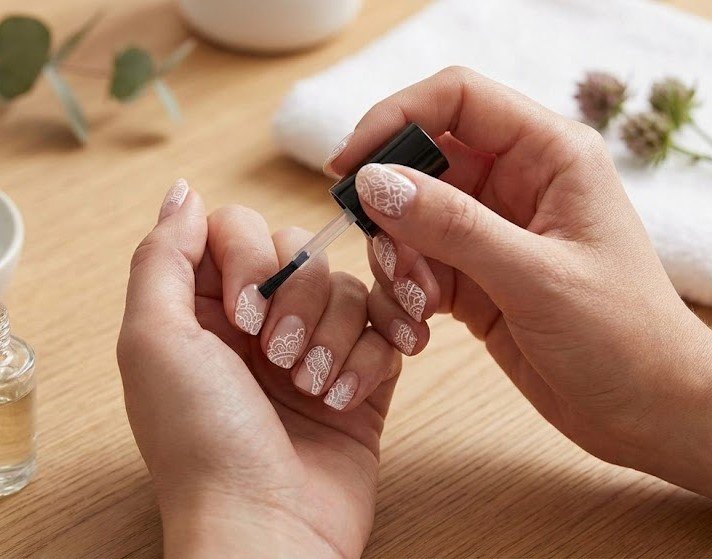
Creating lace nail designs isn’t about perfection. It’s about enjoying the creative process and celebrating your personal style. Whether you choose stamping for speed or freehand painting for artistic expression, you’re creating something uniquely yours.
Start simple. Try one accent nail with basic lace scallops. As your confidence grows, experiment with more complex doily nail art patterns. Remember that even professional nail artists started as beginners.
The beauty of DIY nail art is that mistakes wash away with acetone. But the satisfaction of creating something beautiful? That stays with you.
So grab your tools, choose your favorite colors, and start creating. Your fingertips deserve to look as amazing as you are. Trust me—once you master lace nail designs, you’ll never look at plain polish the same way again.
What’s your favorite nail art style? Drop a comment below and share your lace nail design photos—I’d love to see your creations!