Easy Dragon Braids for Beginners
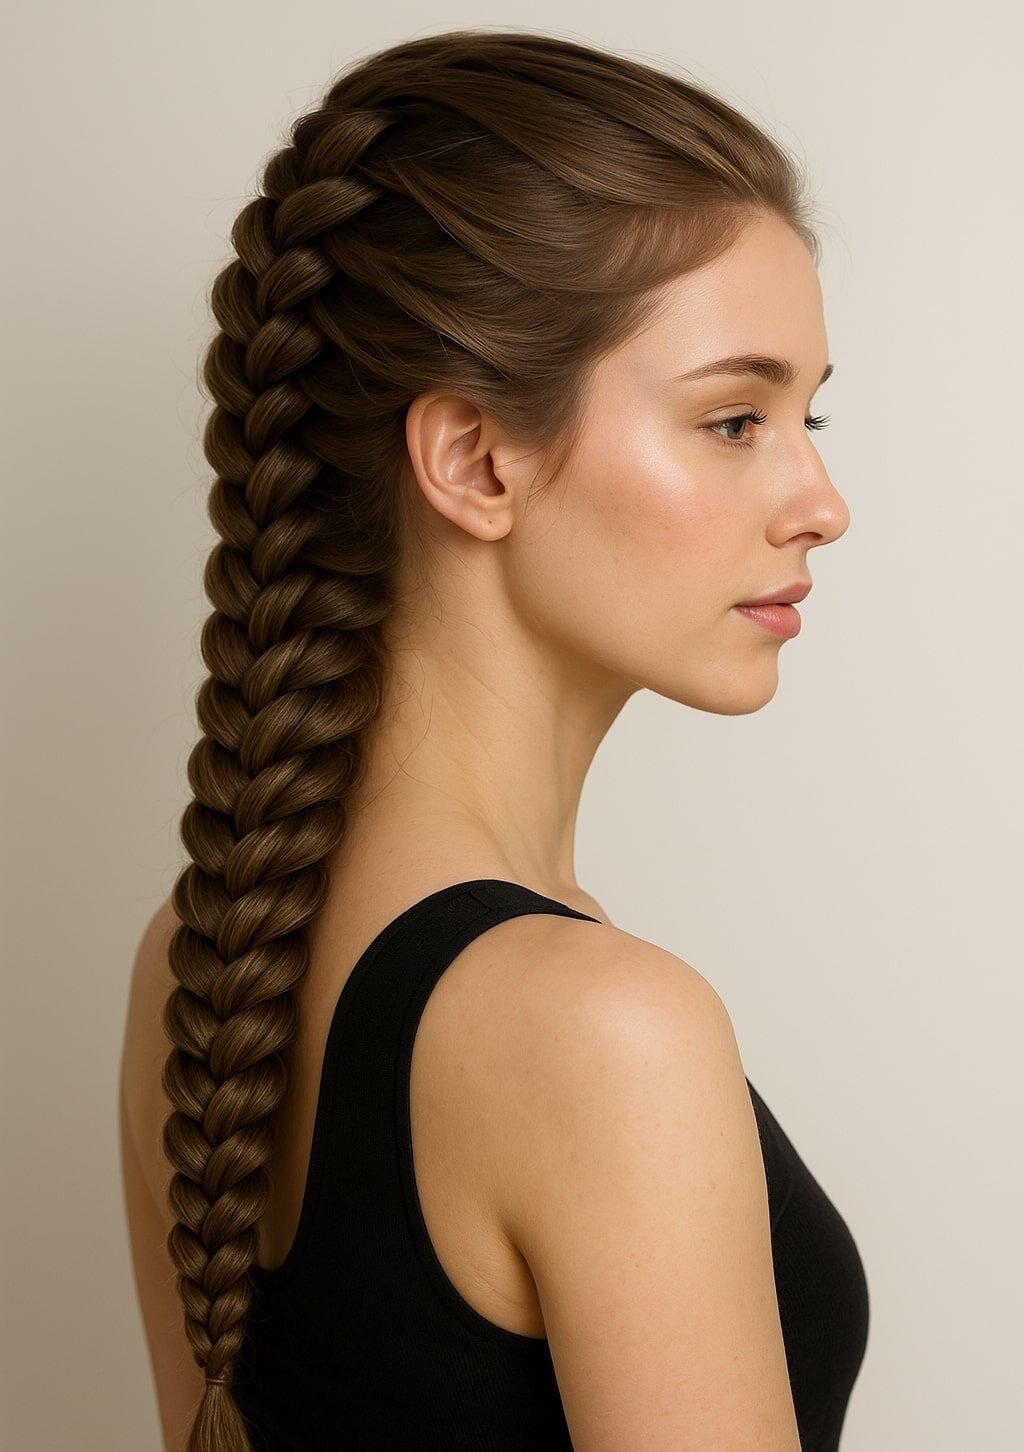
Hey there, friend. Let me guess: your hair routine has fallen into a rut. It’s the same ponytail or basic braid, day after day. You see these gorgeous, intricate hairstyles on Pinterest and think, “I could never do that.” Your hands just don’t seem to work that way, and who has an hour to spend on their hair?
I’ve been there. So often, we equate “beautiful hair” with “complicated effort.” But what if I told you there’s a way to create a show-stopping, elegant braid that looks incredibly complex but is secretly simple? A braid that weaves and dips like the scales of a mythical creature?
Welcome to the world of the dragon braid. Consider this your friendly, step-by-step guide to mastering this beautiful style. We’re going to focus on a brilliant hack—the fake Dutch braid method—that makes it all possible, even for total beginners. So, take a deep breath, grab your comb and some hair ties, and let’s create some everyday hair magic together.
First Things First: What Exactly is a Dragon Braid?
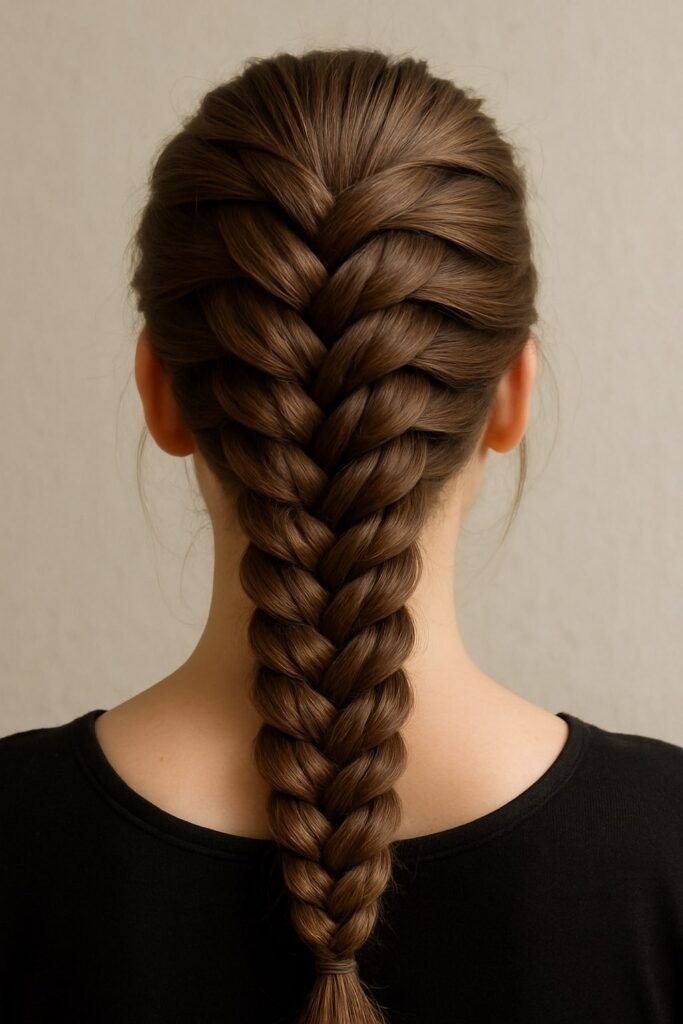
Before we dive in, let’s get our terms straight. A traditional dragon braid is a stunning, rope-like braid that appears to wrap around itself, creating a textured, 3D effect that resembles a dragon’s spine. It can look intimidating, but the secret we’re using today is the “fake” method.
Instead of the complex underhand/overhand technique of a true dragon braid, we create the illusion of one using a series of simple Dutch braids (which are just inside-out French braids) pinned together. It’s a game-changer for easy braided hairstyles that still have that ‘wow’ factor.
“A good hairstyle can change your entire outlook. It’s the armor you choose for the day.”
Your Toolkit for Success: What You’ll Need
You don’t need a salon’s worth of products. Just gather:
- A comb for parting.
- Hair ties (clear ones are great for a seamless look).
- A few bobby pins (color-matched to your hair).
- A light-hold hairspray or texturizing spray (optional, but helpful for grip).
- Your two hands and a little patience.
The Foundation: Mastering the Fake Dutch Braid Technique
This is the core of everything we’ll do. The fake Dutch braid is our building block. Don’t worry if your first attempt isn’t perfect—mine looked like a bird’s nest the first time!
How to Do a Basic Dutch Braid:
- Start with a section of hair at the top of your head.
- Split it into three equal strands.
- Instead of crossing the strands over the middle (like a regular braid), cross them under the middle strand.
- As you continue crossing under, add small sections of hair from the sides into each strand before you cross it under.
Quick Tip:
- Tightness is Key: Keep a firm but gentle tension. If it’s too loose, the braid will fall apart; too tight, and it will be hard to work with.
- Practice Makes Progress: Try this on day-old hair or after spritzing with texturizing spray—it provides much better grip than freshly washed, silky hair.
6 Dragon Braid Hairstyles You Can Actually Do
Now for the fun part! Here are six beginner-friendly ways to style your new skill.
1. The Classic Single Dragon Braid
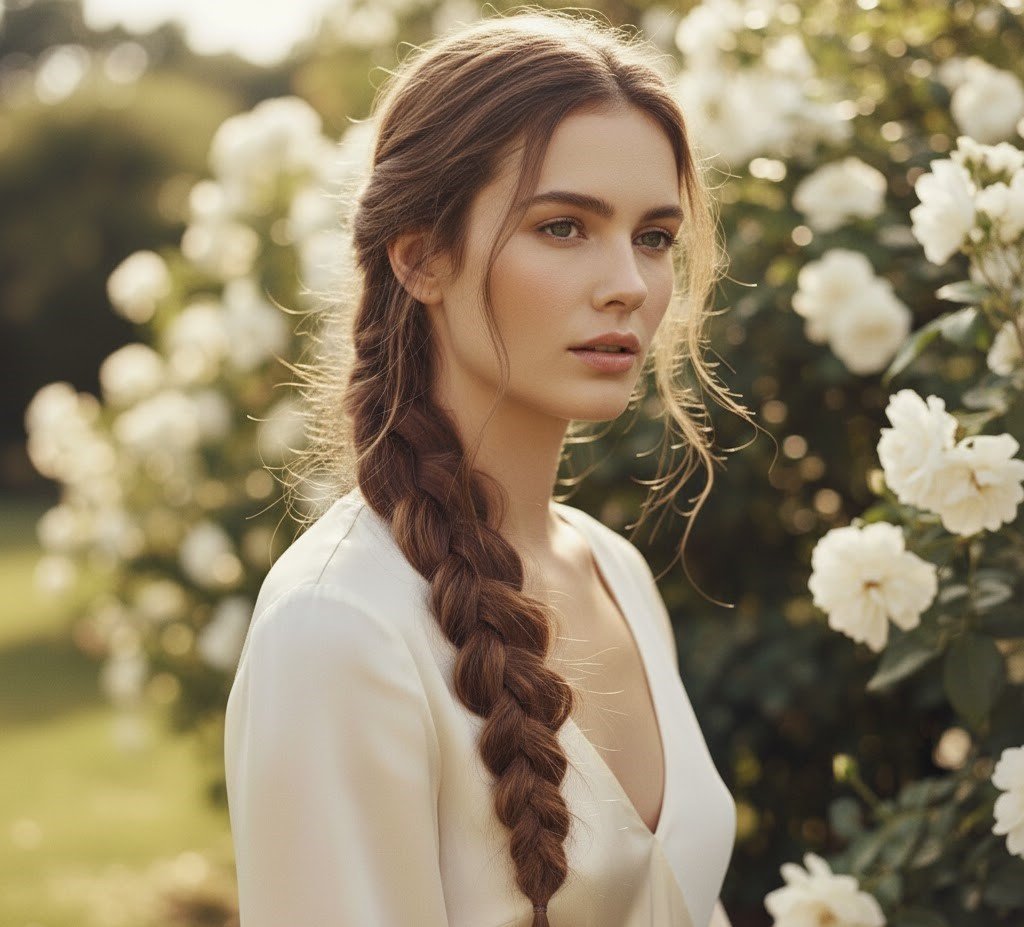
This is your go-to, elegant, everyday style. It’s perfect for work, running errands, or a casual dinner.
How to Do It:
- Part your hair to one side.
- Starting from the opposite side (the side with more hair), begin a Dutch braid along your hairline, following the curve of your head towards the back.
- Once you reach the nape of your neck, continue braiding down the length of your hair without adding more sections. Secure with a clear elastic.
- Gently tug on the outer loops of the braid to “pancake” it, making it look wider and more textured—this enhances the dragon-scale effect.
Quick Tips:
- For a softer look, leave a few face-framing pieces loose.
- Use a mirror to check your braid’s placement as you go.
2. The Double Dragon Crown

Feel like a queen with this beautiful, protective hairstyle that keeps hair off your face.
How to Do It:
- Part your hair down the middle.
- On one side, create a Dutch braid starting at the temple, braiding back towards the crown of your head. Secure the end.
- Repeat on the other side.
- Take the first braid and drape it across the back of your head, pinning it securely under the opposite braid. Repeat with the second braid, tucking the end under the first.
Quick Tips:
- Use plenty of bobby pins, criss-crossing them for a secure hold.
- Loosen the braids slightly before pinning for a more romantic, bohemian look.
3. The Half-Up Dragon Braid
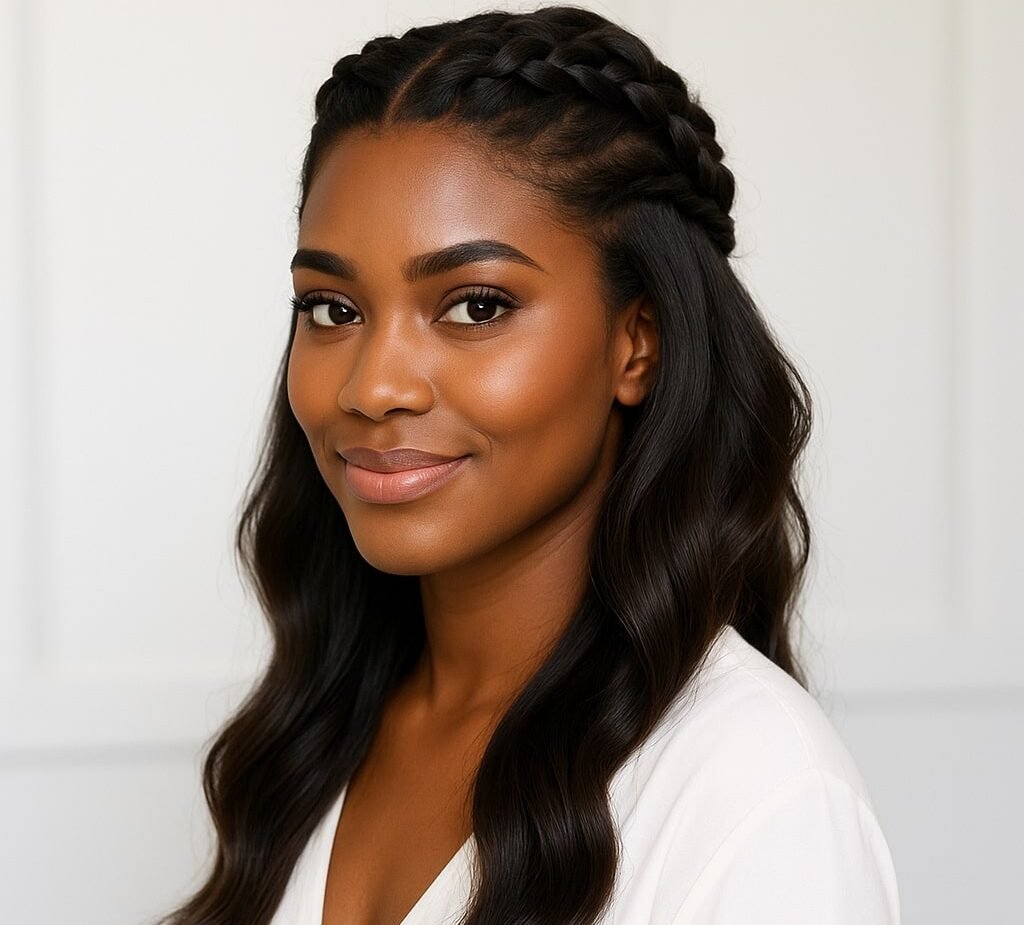
This style gives you the best of both worlds: the detail of a braid and the freedom of loose waves.
How to Do It:
- Take a deep section of hair from the top of your head, as if you’re doing a half-up style.
- Divide this section into two horizontal parts.
- Create a Dutch braid with the top section, stopping at the back of your crown and securing it.
- Directly below it, create a second Dutch braid. You can then join the ends of both braids together with a single hair tie.
Quick Tips:
- After securing, pull apart the braids to make them look fuller and blend them together.
- Curl the rest of your loose hair to integrate the style seamlessly.
4. The Dragon Braid Ponytail
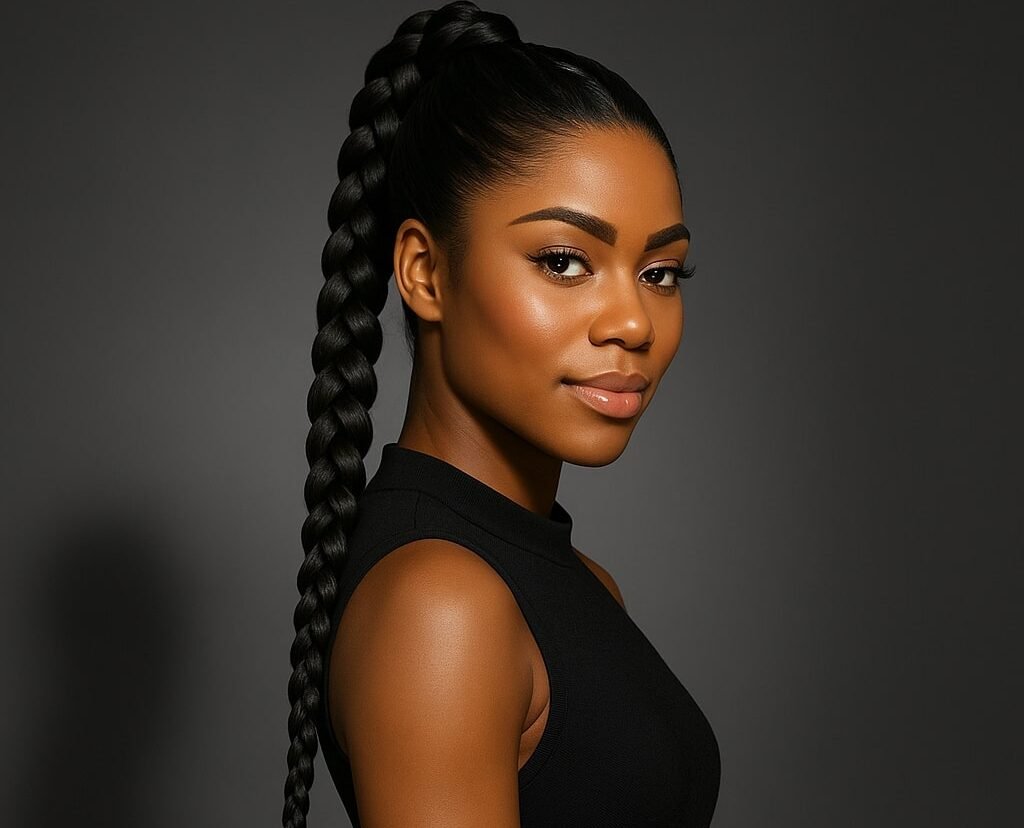
Elevate your basic ponytail in under five minutes. It’s the perfect everyday hair inspiration for when you’re in a rush but want to look put-together.
How to Do It:
- Gather your hair into a high or low ponytail and secure it with a hair tie.
- Take a small section from the ponytail and wrap it around the base to hide the elastic, securing it with a bobby pin.
- Now, create a standard three-strand braid with the ponytail, but gently pull it apart to create that signature “dragon” texture.
Quick Tips:
- For a more integrated look, you can create a small Dutch braid at the crown before gathering hair into the ponytail.
- Spritz with hairspray to tame any flyaways.
5. The Side-Swept Dragon Braid
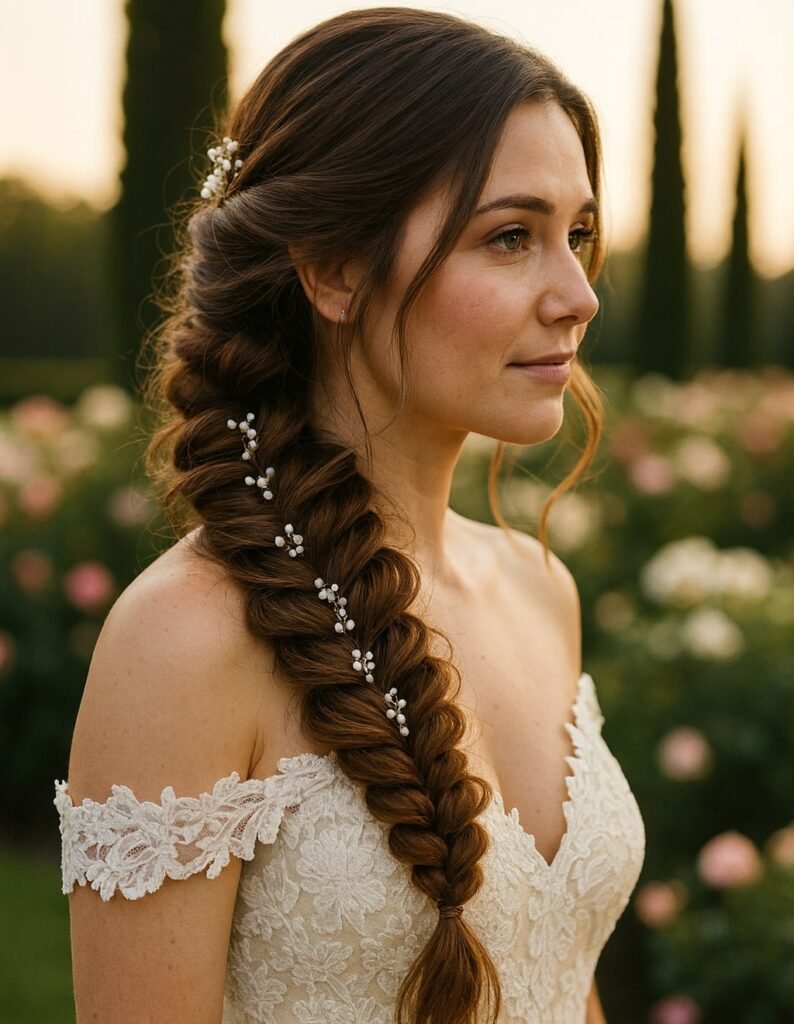
A beautifully romantic style that’s ideal for a date night or special event.
How to Do It:
- Part your hair deeply to one side.
- Starting from the side with more hair, begin a large Dutch braid, angling it diagonally across the back of your head to the opposite side.
- Continue the braid down the length of your hair and secure it.
- Pull the braid apart generously to maximize the dragon-scale illusion.
Quick Tips:
- This style works best on medium to long hair.
- Accessorize by weaving a ribbon through the braid or adding a delicate clip.
6. The Mini Dragon Accent Braids
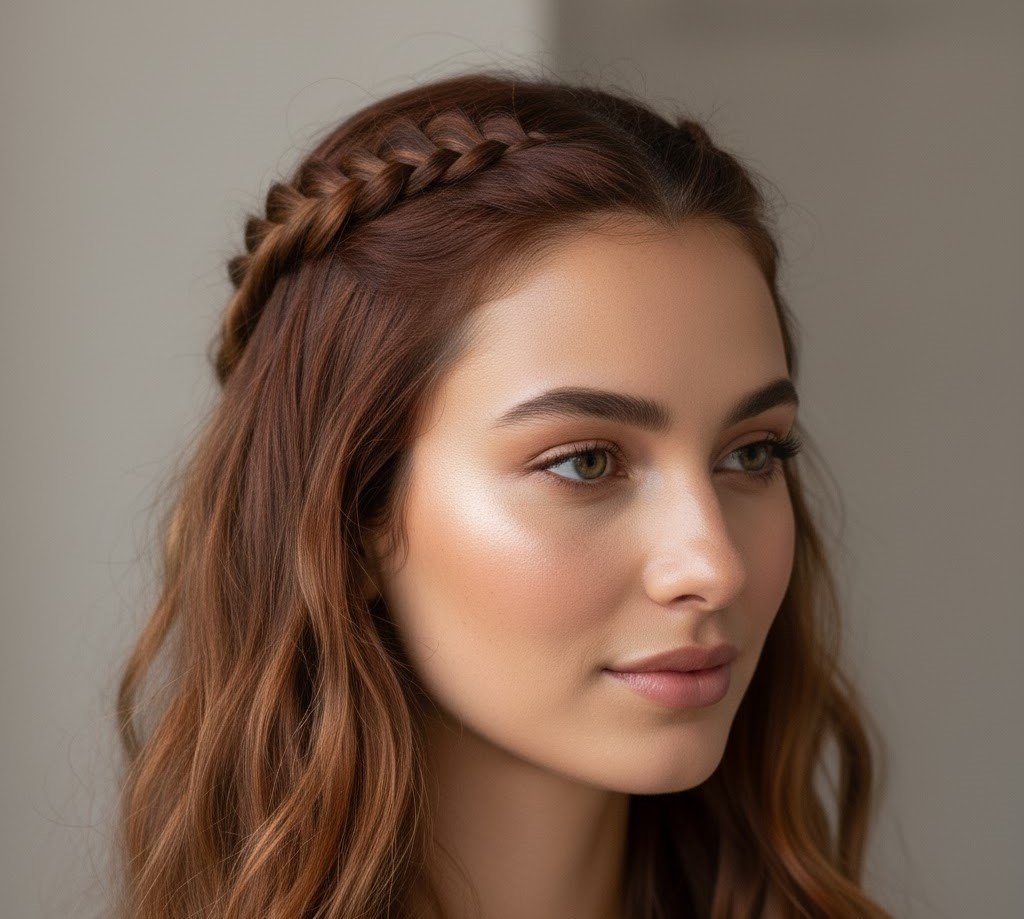
Not ready for a full-head commitment? This is your perfect starting point. It’s a subtle way to incorporate the trend into your everyday hair inspiration.
How to Do It:
- Take a small section of hair near your part.
- Create a very short, fine Dutch braid, about 2-3 inches long.
- Secure it with a tiny clear elastic and then tuck the end behind your ear, or let it hang with the rest of your hair.
- You can do one or two on either side of your part.
Quick Tips:
- This is a fantastic way to practice the Dutch braid motion on a small scale.
- It’s a great style for second or third-day hair when you need to tame those front pieces.
Your Hair, Your Rules: Embracing Imperfection
Remember, the goal is not a photoshopped, perfect braid. The goal is a style that makes you feel confident and beautiful. A few loose hairs or a slightly uneven section adds character and charm. It shows you’re a real person with a real, beautiful life.
Ready to Tame Your Dragon Braid?
See? That wasn’t so scary, was it? You have all the tools and techniques you need to add these stunning Dragon Braid Hairstyles For Beginners to your repertoire. They are designed to be manageable, beautiful, and, most importantly, to make you feel good.
Your one small step? Just try one. Maybe today, it’s the simple Dragon Braid Ponytail. Or maybe you practice the fake Dutch braid technique while watching TV tonight. The point is to start.

I believe in you. Now go on, and let your hair tell a new story today.