5 Easy Steps to Stunning Viking Braids You’ll Love
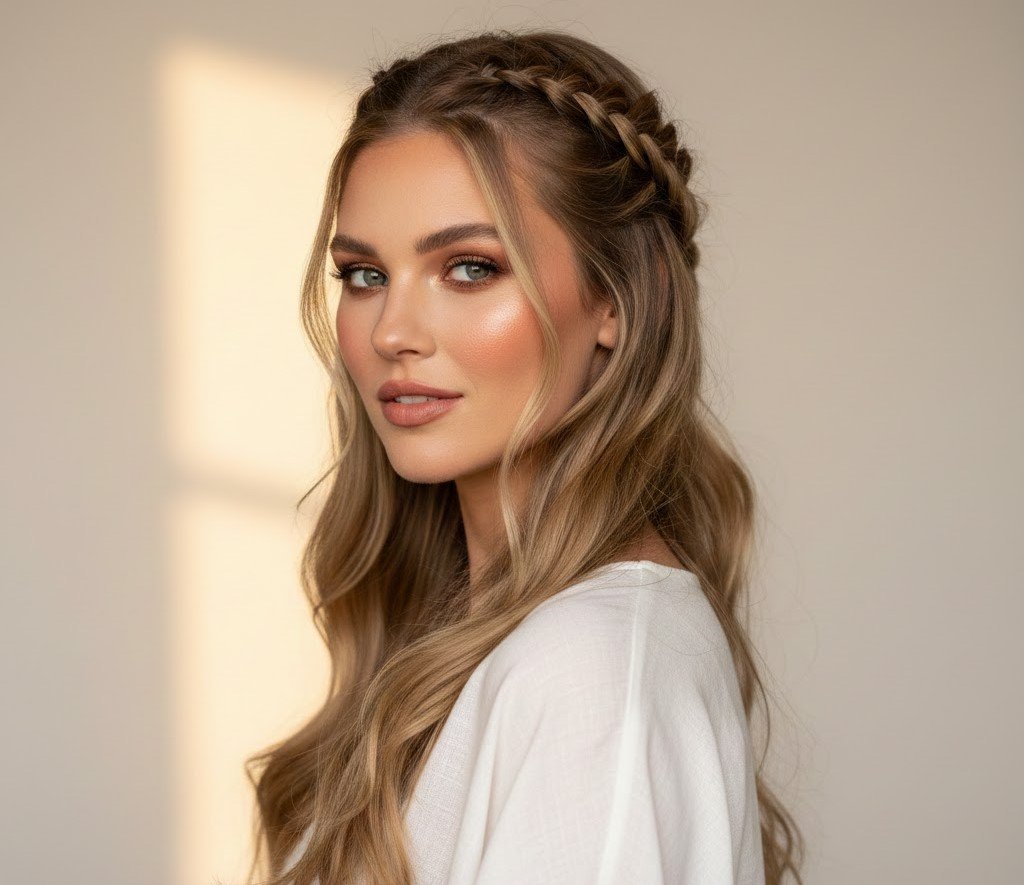
Ever scrolled through Instagram, seen someone rocking a gorgeous, intricate braid that looks both fierce and feminine, and thought, “I could never do that”? You know the one—it’s like a crown, but cooler. A little bit Viking queen, a little bit bohemian festival-goal.
I get it. Between work, life, and everything in between, spending an hour on a complicated hairstyle feels like a luxury we just don’t have. But what if I told you that this stunning Half-Up Dutch Braid Viking Hairstyle is not only achievable but can become your new go-to for busy days, special events, and everything in between?
This isn’t about perfection. It’s about adding a touch of magic to your everyday. It’s about feeling powerful and put-together, even when you’re racing from a morning meeting to a school pickup. So, take a deep breath, grab your brush and a couple of hair ties, and let’s transform that “I can’t” into “Wow, I just did that!”
Why You’ll Fall in Love With This Viking Braid
Before we dive into the how-to, let’s talk about the why. This isn’t just another half-up braid. The Dutch braid technique (where you braid under instead of over) creates a beautiful, 3D effect that pops out from your head. When you “pancake” it—a fancy term for gently pulling it apart—it becomes full, soft, and effortlessly romantic.
- It’s a Major Time-Saver: Once you get the hang of it, this style takes just 5-10 minutes.
- Works with Any Hair Type: Fine, thick, wavy, or straight—this braid adds volume and texture to everyone.
- The Ultimate Bad-Hair-Day Fix: It looks intentionally stylish, even when you’re hiding a day (or two) of unwashed hair.
As my friend Sarah said after mastering it, “This braid makes me feel like I have my life together, even on days when my kitchen sink is full of dishes.” And isn’t that the feeling we’re all chasing?
Your Pre-Braid Prep: Setting the Stage for Success
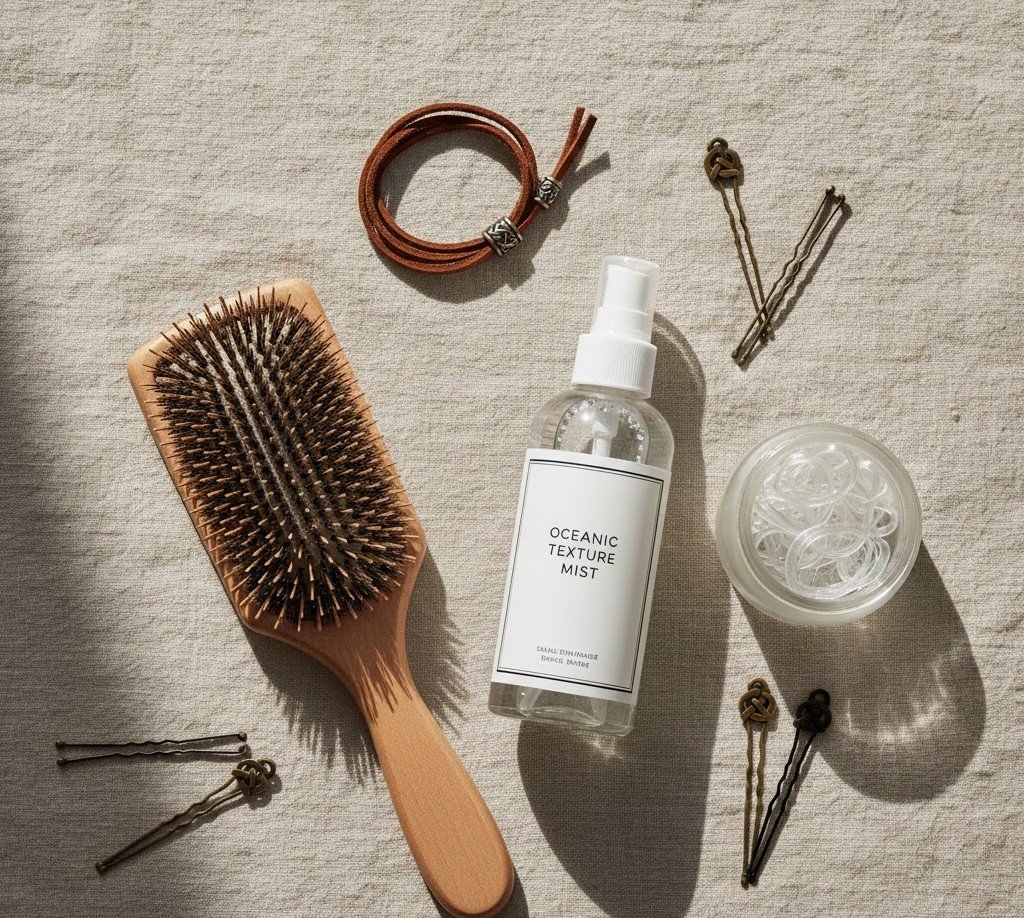
A little preparation makes the braiding process so much smoother. Think of this as gathering your ingredients before baking a cake.
What You’ll Need:
- A comb or brush for detangling
- A spray bottle with water (for slight dampness)
- 2-3 clear elastics or elastics that match your hair color
- A few bobby pins (optional, for securing ends)
- Texturizing spray or dry shampoo (optional, for extra grip)
Pro-Tip: Don’t braid soaking wet hair. Instead, aim for second-day hair or spritz dry hair with a little water and texturizing spray. This gives your hair the perfect amount of “grip” without being slippery.
The Step-by-Step Half-Up Dutch Braid Viking Hairstyle Tutorial
Ready? Let’s break this down into simple, manageable steps. I promise, it’s easier than it looks.
Step 1: Create Your Foundation
Start by brushing your hair to remove any tangles. Part your hair as you normally would—a side part or a middle part both work beautifully for this look. The goal is to have a smooth base to work from.
- Quick Tip: If your hair is very slippery, run a light-hold mousse through your mid-lengths to ends before you begin.
Step 2: Section Your Crown
Gather a section of hair from the top of your head, from about the middle of your head back to your crown. This will become your braid. Clip or loosely tie the rest of your hair out of the way for now.
- Quick Tip: The section should be a generous “U” or crescent moon shape, not a straight line from ear to ear. This is what gives it that crown-like effect.
Step 3: Begin the Dutch Braid
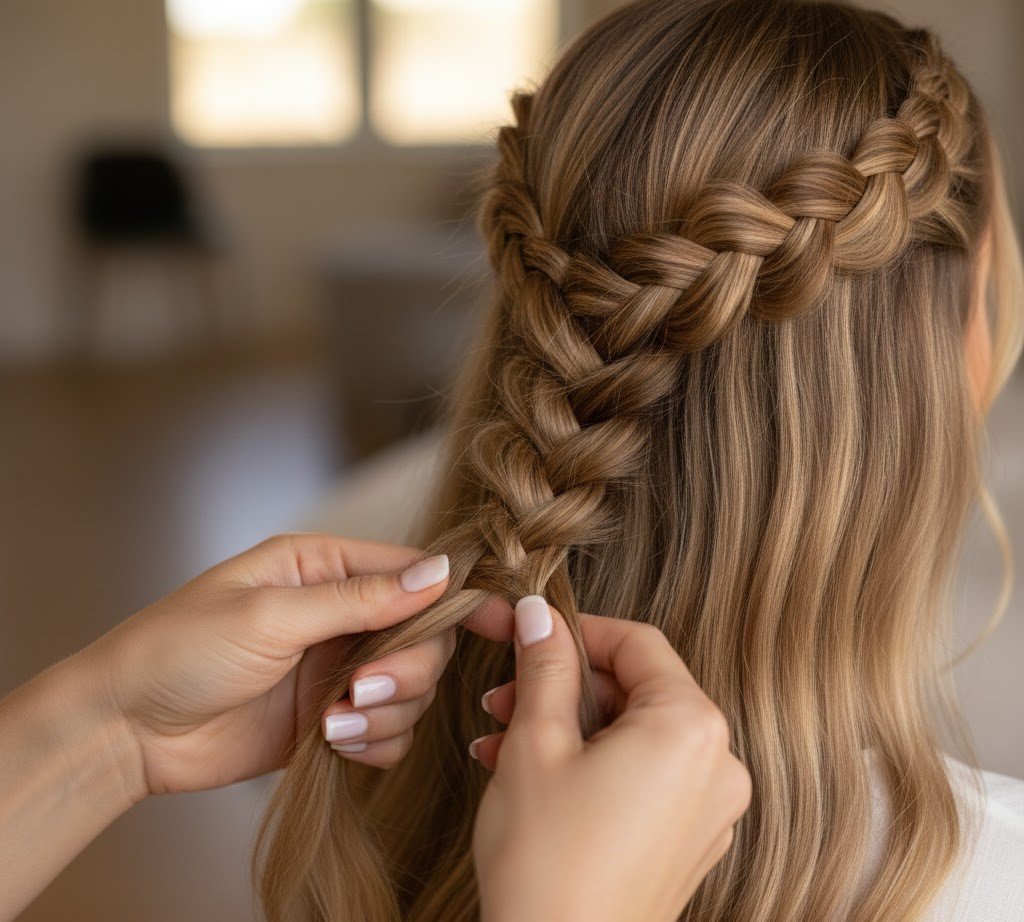
Now for the main event! Divide your crown section into three equal parts. This is where the Dutch braid tutorial part comes to life.
- Then, cross the left strand under the new middle strand.
- Instead of crossing the right strand over the middle, you’ll cross it under the middle strand.
- This is the fundamental Dutch braid motion: always crossing under.
Step 4: Add Hair as You Go
After your first under-cross on each side, it’s time to add hair. As you prepare to cross the right strand under, gather a small section of hair from the right side of your head and combine it with that right strand before crossing it under. Do the same on the left side.
- Quick Tip: Keep the sections you add relatively small and consistent for a neat, uniform look.
Step 5: Continue to the Ear & Secure
Continue this process—crossing under and adding hair—all the way along the curve of your head. Stop adding new hair once you reach a point just behind your ear. Once no more hair is being added, finish the braid with a regular three-strand braid for a few more inches and secure the end with a clear elastic.
- Quick Tip: Don’t pull too tight! A looser braid is much easier to “pancake” and looks softer and more romantic.
The Magic Touch: How to “Pancake” Your Braid
This is the step that transforms your braid from “nice” to “whoa!” Pancaking a braid simply means gently tugging at the loops of the braid to make it look fuller, wider, and more voluminous.
Gently Does It
Starting from the top of your braid, use your fingertips to gently pull the outer loops of the braid apart. Alternate sides, gently tugging little by little to expand the braid evenly.
- Quick Tip: Pull horizontally, away from the center of the braid, not upwards. This prevents you from pulling the braid out of your head.
Create Balance
Pancake the entire braid until you’re happy with the volume and shape. The goal is a soft, imperfect, and beautiful bohemian hairstyle that frames your face.
Styling & Finishing Touches for Your Warrior Goddess Look
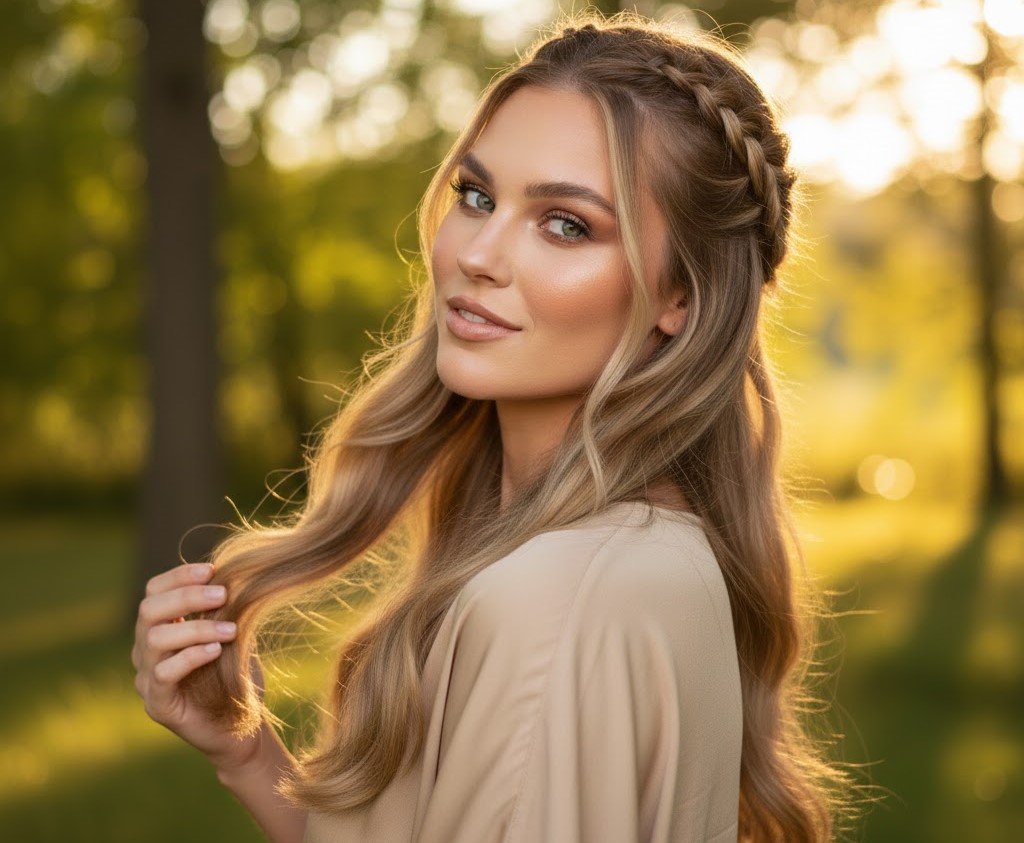
You’re almost there! Now, let’s make sure it lasts and looks its absolute best.
Release the Rest
Let down the bottom section of your hair that you clipped away. Gently brush it or finger-comb it to blend with the braided section.
Final Flourishes
- For a Polished Look: Tuck the tail end of the braid under the bottom section of your hair and secure it with a bobby pin hidden from view.
- For a Casual Look: Let the braid tail hang freely with the rest of your hair.
- Set It and Forget It: Finish with a light-hold hairspray all over to tame any flyaways and lock your masterpiece in place.
Troubleshooting: Quick Fixes for Common Braiding Hurdles
Struggling? You’re not alone. Here are solutions to the most common problems.
- Problem: My braid looks lumpy and uneven.
- Fix: This is usually due to adding uneven sections of hair. Don’t worry! This is where pancaking is your best friend. Gently pulling the braid apart will help even out the lumps and make it look intentionally messy-chic.
- Problem: I have lots of shorter pieces and flyaways.
- Fix: Spray a light-hold hairspray on a toothbrush or a clean mascara wand and gently smooth them down. Embrace a few flyaways—they add to the effortless vibe!
- Problem: The braid feels too tight and gives me a headache.
- Fix: Loosen it! Use your fingertips to gently pull at the hair right at the base of your braid, along your part, to release a little tension.
Make It Your Own: Styling Variations to Try
Once you’ve mastered the basic style, the world is your oyster! Here are a few ways to switch it up:
- Add a Ribbon: Weave a thin ribbon through your braid as you go for a pop of color.
- Accessorize: Slide a few small, delicate hair clips into the pancaked sections.
- The Full Viking: Create this braid on both sides and join them at the back for a true double-sided crown.
Your New Signature Style Awaits
And there you have it! You’ve just created a stunning, head-turning Half-Up Dutch Braid Viking Hairstyle that’s perfect for your busy, beautiful life. Remember, practice makes progress, not perfection. Your first try might not be flawless, and that’s more than okay. The goal is to feel a little more empowered, a little more creative, and a whole lot more like the warrior goddess you are.
So, what’s your next small step?
Your soft call-to-action: The next time you have five quiet minutes, maybe before bed or on a slow Sunday morning, just practice the Dutch braid motion on a small section. That’s it. You’ve got this.
Now go out and conquer your day, one beautiful braid at a time.